Swagger in Web API – APIs allow enterprises to exchange data between systems. These APIs are just like any application, with the small difference that they don’t have a user interface. Instead, APIs focus on database operations, validations, executing business rules and other background operations. In addition, it also provides a standard and consistent interface to these activities.
In the SOAP world, we use WSDL which is an XML document to describe the service. WSDL specifies the location and the methods of the service using the XML syntax. Importantly, it also defines the message format and protocol details for a web service.
When APIs are exposed to partners or developers, it’s also necessary to provide the consumers of the APIs with a specification similar to WSDL. This is where the Open API (Swagger) comes in. Open API is a specification for describing, producing, consuming and visualizing RESTful services. In addition, the specification creates the RESTful contract for the API, detailing all of its resources and operations. Moreover, it is in a human and machine-readable format for easy development, discovery, and integration.
In simple words, SOAP has WSDL and REST has Swagger.
Get Started
For this post, we will use ASP.NET Web API to create a RESTful service and use a NuGet package to create Swagger(Open API) specification. Please refer to this link to learn about creating HTTP service with ASP.NET Web API.
What is ASP.NET Web API?
ASP.NET Web API is a framework that makes it easy to build HTTP services that reach a broad range of clients, including browsers and mobile devices. Indeed, ASP.NET Web API is an ideal platform for building RESTful applications on the .NET Framework.
Let’s talk about the following steps in the remaining article.
- NuGet Packages required
- Configure Swagger
- Setting up the Controller
- Set swagger as startup page
The sample code used in this post is available in Github
1. Required NuGet Packages
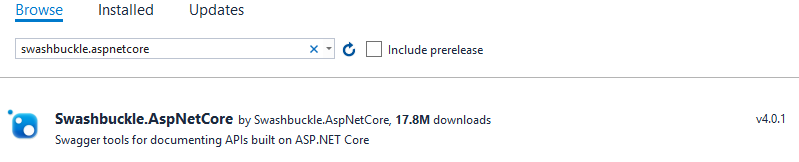
First, install Swashbuckle.AspNetCore NuGet package in the solution.
2. Configure Swagger
Following the installation, register the Swagger generator in the ConfigureServices method of startup.cs.
public void ConfigureServices(IServiceCollection services)
{
   services.AddMvc().SetCompatibilityVersion(CompatibilityVersion.Version_2_2);
   // Register the Swagger generator
   services.AddSwaggerGen(c =>
   {
      c.SwaggerDoc("v1", new Info
      {
         Title = "Employee API",
         Version = "v1",
         Description = "API to manage Employees",
         TermsOfService = "None"
      });
   });
}
The Info object used in registering the Swagger generator is from the Swashbuckle NuGet package. In addition, it also provides the ability to set contact and license info. Following is the snapshot of the Info class.
using System.Collections.Generic;
using Newtonsoft.Json;

namespace Swashbuckle.AspNetCore.Swagger
{
    public class Info
    {
        public Info();

        public string Version { get; set; }
        public string Title { get; set; }
        public string Description { get; set; }
        public string TermsOfService { get; set; }
        public Contact Contact { get; set; }
        public License License { get; set; }
        [JsonExtensionData]
        public Dictionary<string, object> Extensions { get; }
    }
}
After the Swagger generator is registered, enable the Swagger middleware in the Configure method of startup.cs.
public void Configure(IApplicationBuilder app, IHostingEnvironment env)
{
   if (env.IsDevelopment())
   {
      app.UseDeveloperExceptionPage();
   }
   // Enable middleware to serve generated Swagger as a JSON endpoint.
   app.UseSwagger();

   // Enable middleware to serve swagger-ui (HTML, JS, CSS, etc.),
   // specifying the Swagger JSON endpoint.
   app.UseSwaggerUI(c =>
   {
      c.SwaggerEndpoint("/swagger/v1/swagger.json", "Employee API V1");
   });
   app.UseMvc();
}
3. Setting up the Controller
We will create a controller for the Employee with 2 methods. Let’s instantiate an employee collection in the constructor for the purpose of this POC. In contrast, the data comes from a database or other storage in the real world. The first method is to fetch all the employees and the second is to get an employee by id. “ProducesResponseType” attribute of ASP.NET MVC is used in the web methods to tell the response object type and the response code to swagger.
The first method produces a return type of employee list and the second method returns an object of type Employee when a match is found. In addition, if there is no match for the id passed to the API, then an object of type “ErrorResponse” will be returned.
ErrorResponse.cs
public class ErrorResponse
{
    public int ErrorCode { get; set; }
    public string ErrorMessage { get; set; }
}
Employee.cs
public class Employee
{
    public int Id { get; set; }
    public string FirstName { get; set; }
    public string LastName { get; set; }
    public int Age { get; set; }
    public string Title { get; set; }
}
EmployeeController.cs
[Produces("application/json")]
[Route("api/Employees")]
public class EmployeesController : Controller
{
    private List employeeList;
    public EmployeesController()
    {
        employeeList = new List
            {
                new Employee{Id = 1, FirstName="Jane", LastName="Doe", Age = 21, Title = "Developer"},
                new Employee{Id = 2, FirstName="Bob", LastName="Martin", Age = 21, Title = "Architect"}
            };
    }

    [HttpGet]
    [ProducesResponseType(typeof(List), 200)]
    public ActionResult Get()
    {
        return Ok(employeeList);
    }

    [HttpGet]
    [Route("Get")]
    [ProducesResponseType(typeof(Employee), 200)]
    [ProducesResponseType(typeof(ErrorResponse), 400)]
    public ActionResult Get(int id)
    {
        var employee = employeeList.Where(x => x.Id == id).FirstOrDefault();
        if (employee == null)
        {
            return BadRequest(new ErrorResponse { ErrorCode = 404, ErrorMessage = "Employee Not Found" });
        }
        return Ok(employee);
    }
}
4. Set swagger as startup page
Next, we will see how to set the swagger specification as the startup URL for the Web API application. To do this modify the profiles section of launchsettings.json file. Each profile can have a different launch URL.
{
"iisSettings": {
"windowsAuthentication": false,
"anonymousAuthentication": true,
"iisExpress": {
"applicationUrl": "http://localhost:28639/",
"sslPort": 0
}
},
"profiles": {
"IIS Express": {
"commandName": "IISExpress",
"launchBrowser": true,
"launchUrl": "swagger/index.html",
"environmentVariables": {
"ASPNETCORE_ENVIRONMENT": "Development"
}
},
"EmployeeAPI": {
"commandName": "Project",
"launchBrowser": true,
"launchUrl": "swagger/index.html",
"environmentVariables": {
"ASPNETCORE_ENVIRONMENT": "Development"
},
"applicationUrl": "http://localhost:28640"
}
}
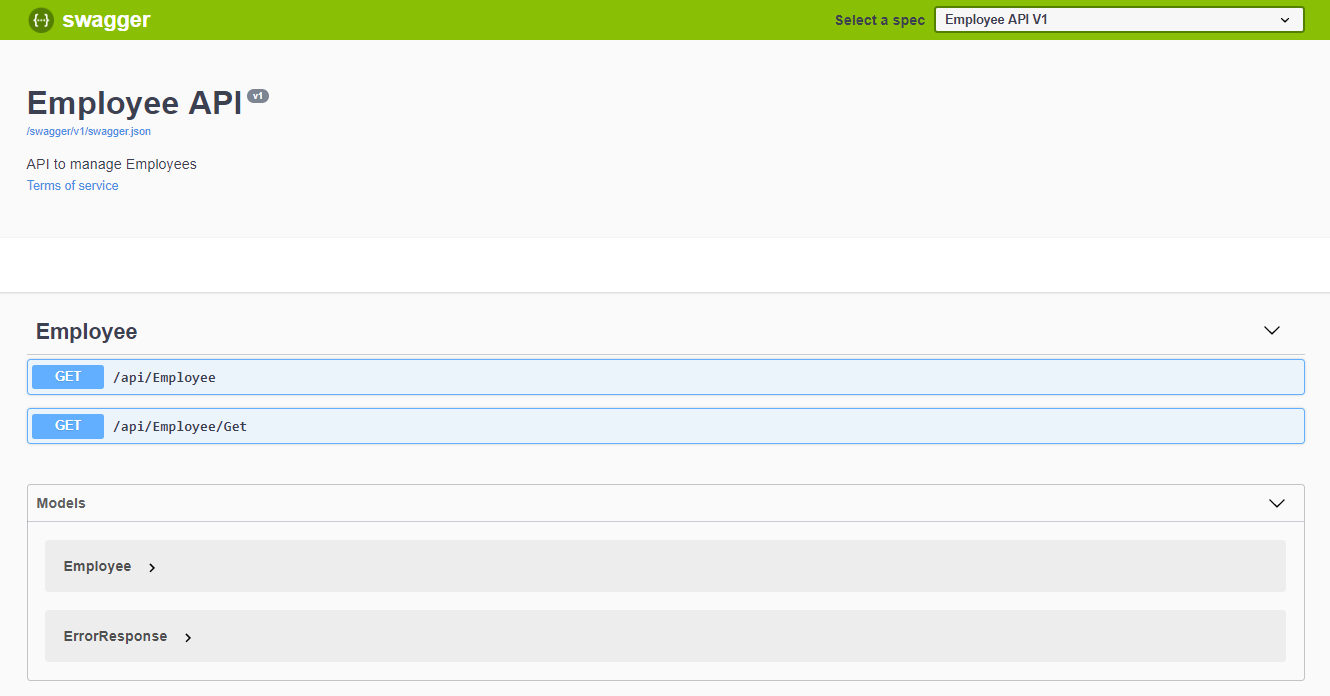
}Now you will see the following page when the application runs. This page contains all the methods exposed through API. Moreover, it also provides a test functionality for each of the methods.
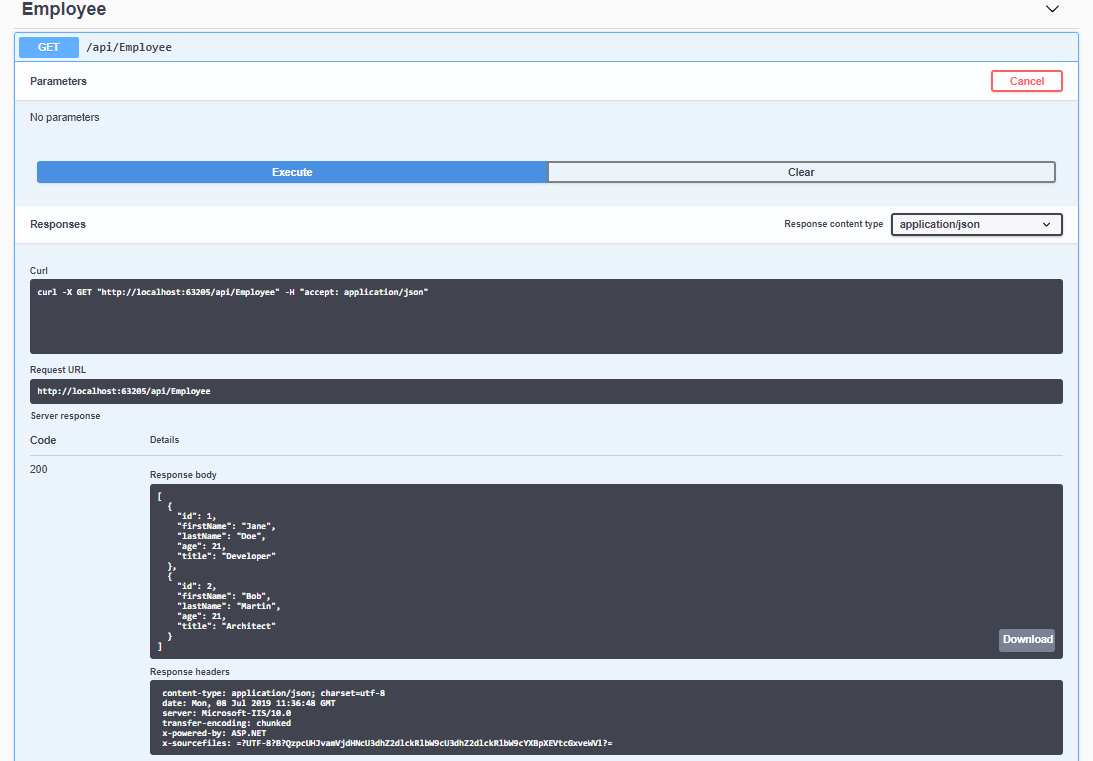
When you click on the method listed under an API, you will see a test page. For the methods which accept parameters, you can enter the values and hit the “Execute” button. It will produce the results on the page similar to the one below.
Recommended Courses
- Designing RESTful Web APIs
- Documenting an ASP.NET Core API with OpenAPI / Swagger
- Using OpenAPI/Swagger for Testing and Code Generation in ASP.NET Core
We may receive a commission for purchases made through these links.

Pingback: Versioning Web API - Blog of Pi
Pingback: Swagger with ASP.NET Core Web API - Blog of Pi - How to Code .NET
Pingback: Web API using Swagger with .NET Core implementation - How to Code .NET